How to get a custom email free

Want a professional-looking email address without paying for Google Workspace? This step-by-step tutorial shows you how to create a custom domain email address and link it to your Gmail inbox—completely free.
Prerequisites
Before you begin, make sure you have:
- A custom domain name
- A Gmail account
- A Cloudflare account
Step 1: Link Cloudflare to Your Custom Domain
After signing in to Cloudflare, click the "+ Add a Site" button in the top-left corner of the dashboard.

Follow the instructions:
- Enter your domain name
- Choose "Quick scan for DNS records"
- Click "Continue"
Select the Free plan on the next screen and click "Continue."
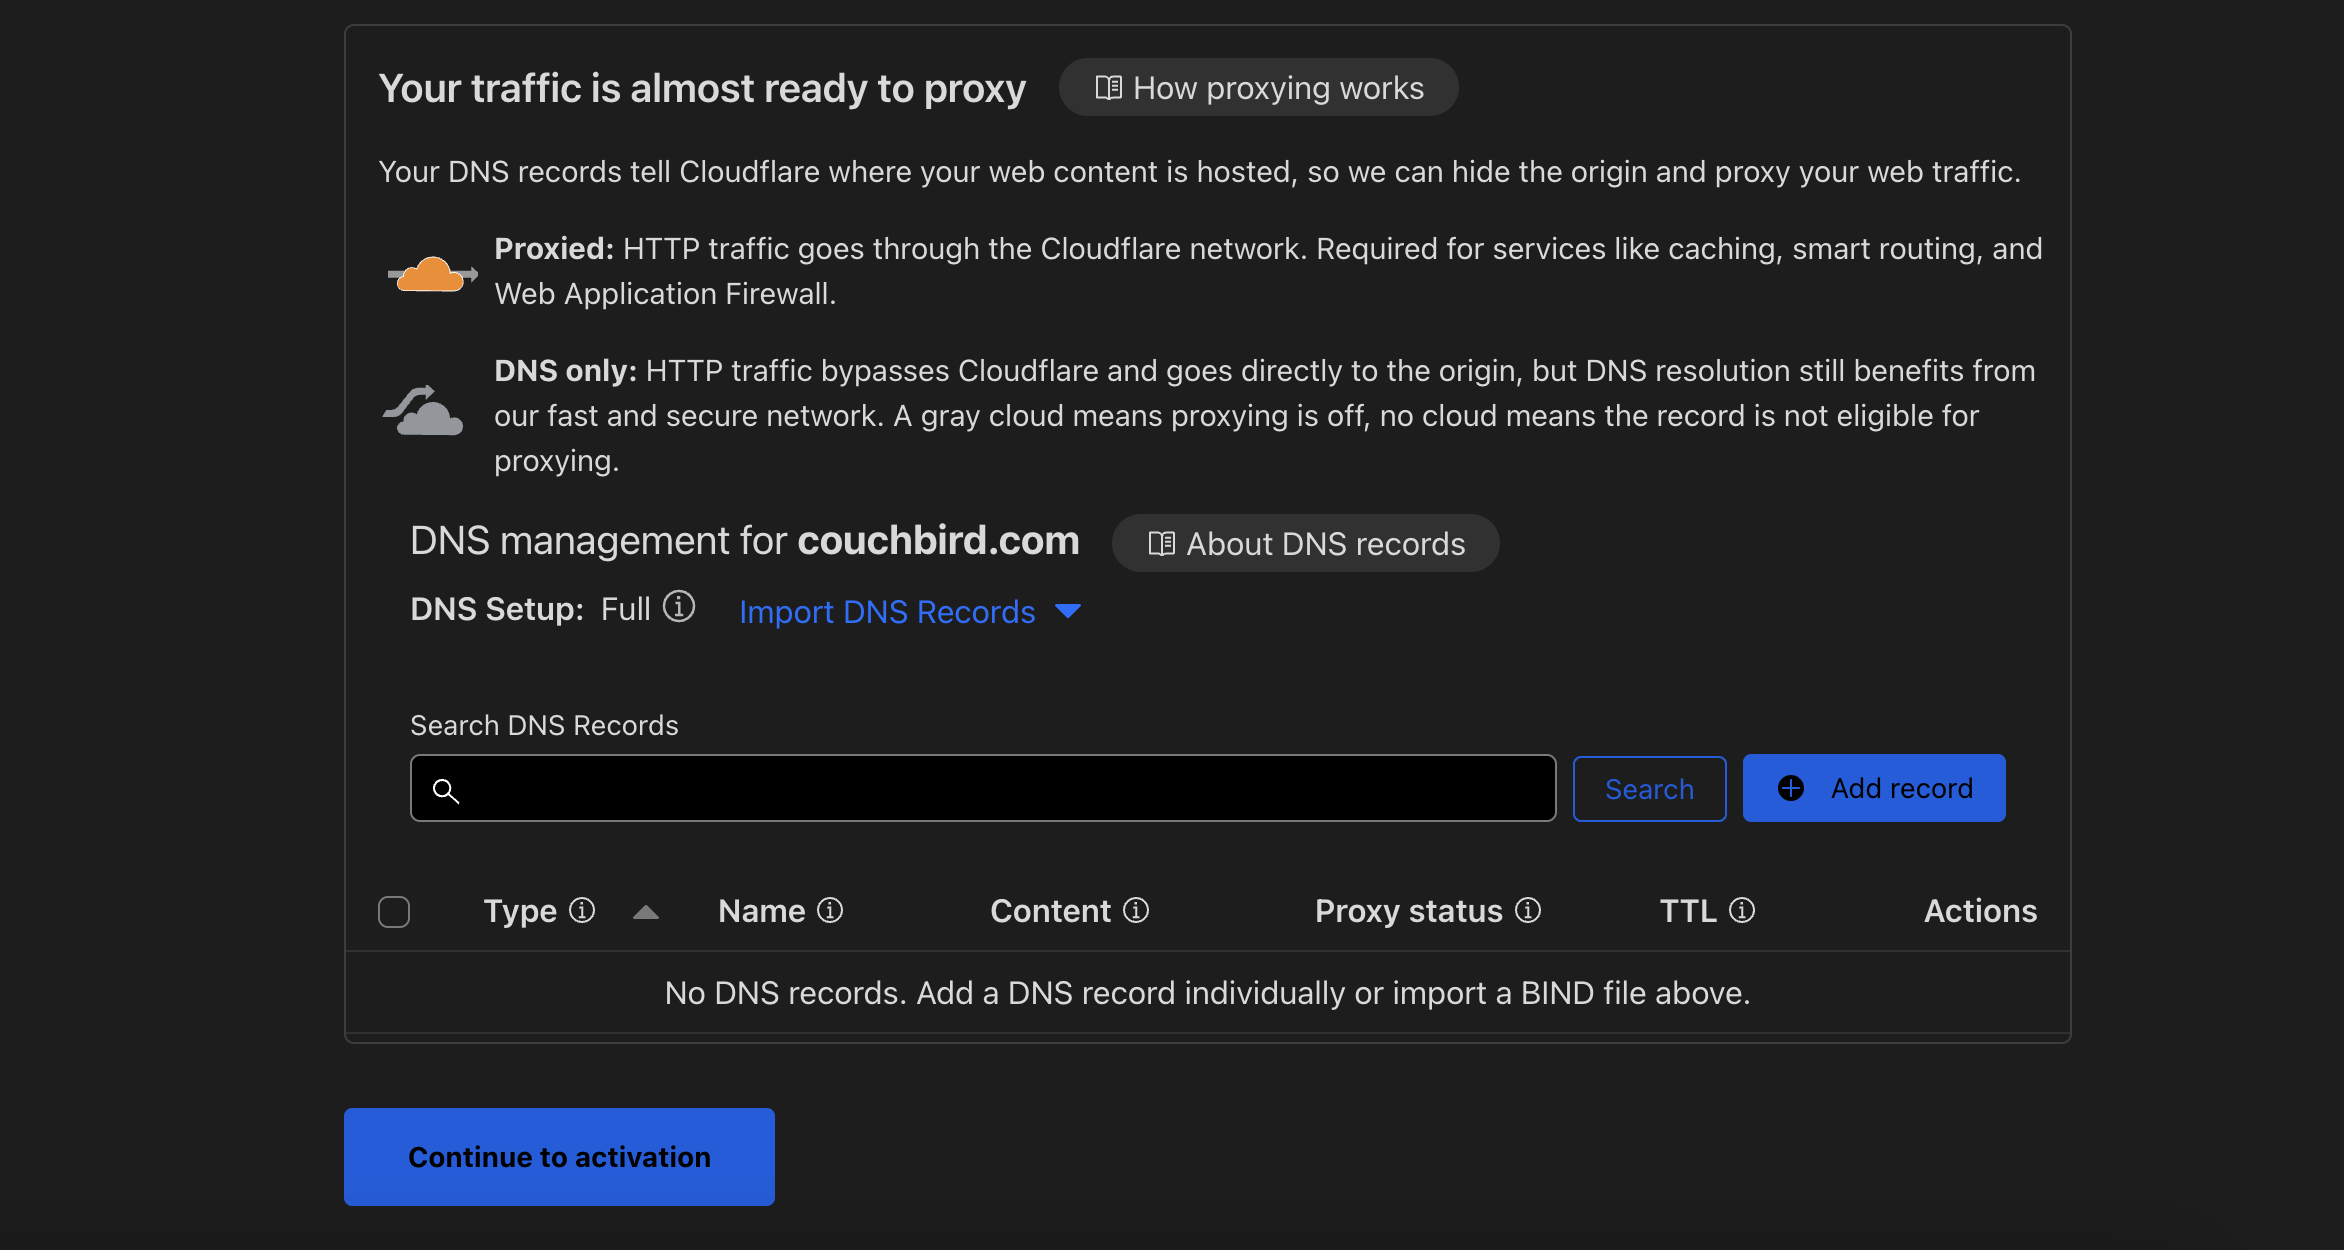
You’ll see a list of DNS records. Leave them unchanged—removing records may break your service. Just click "Continue to activation."

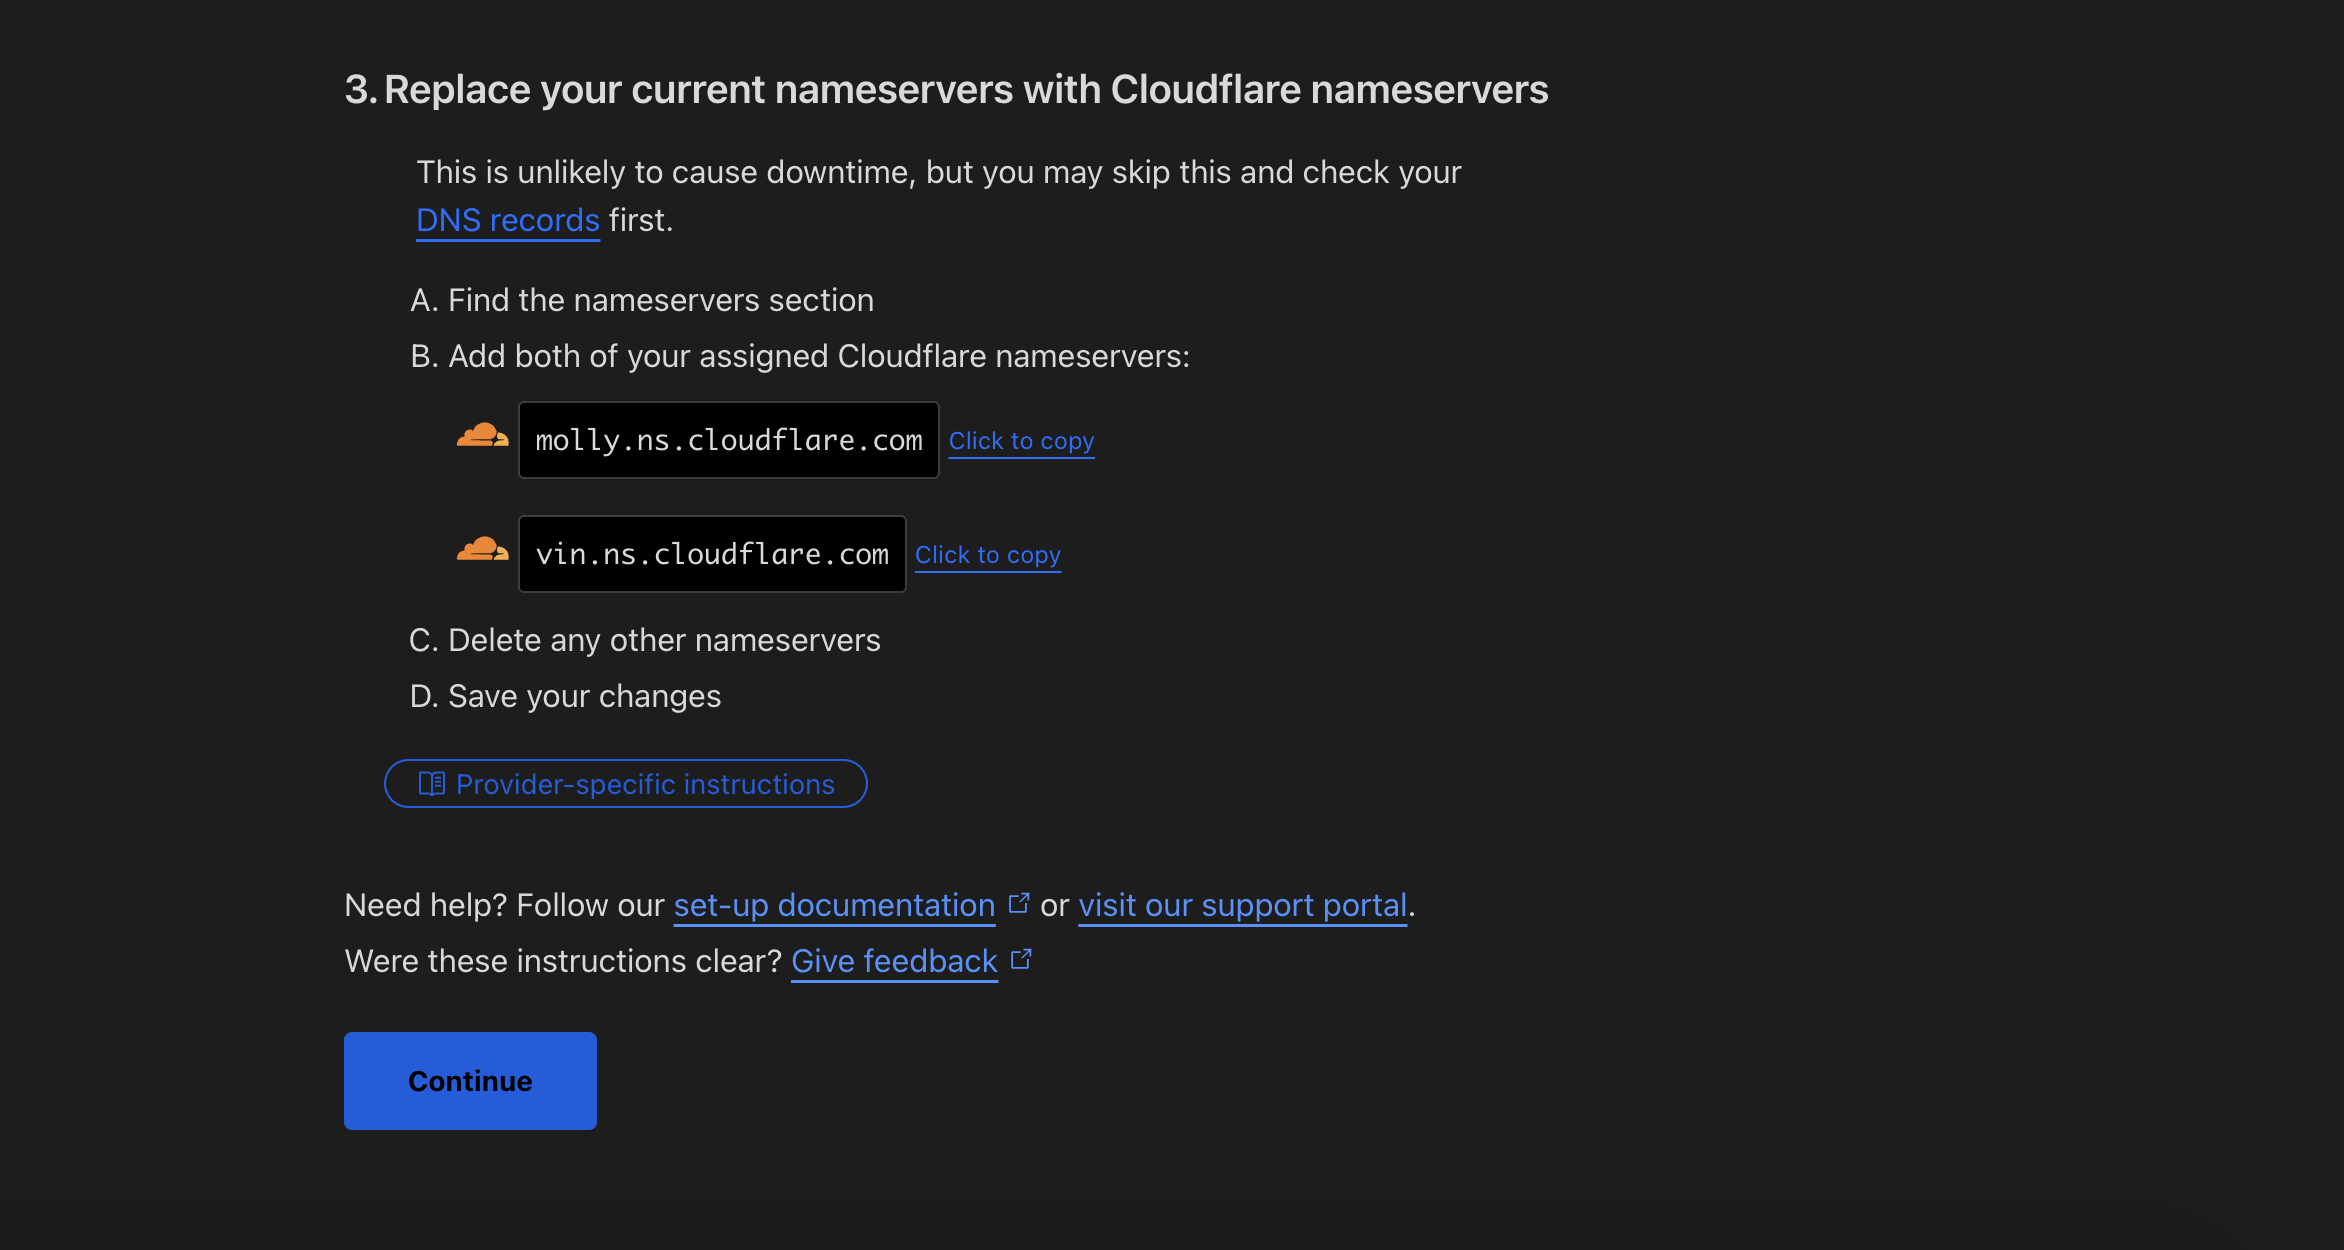
In Step 3, you’ll be provided with two new nameservers.

Go to your domain registrar (like Namecheap or GoDaddy), locate the nameservers section, select Custom Nameservers, and paste in the two nameservers.
Your records should look something like this:

The above shows the Namecheap panel for the domain "anfalmushtaq.com."
Return to Cloudflare and click "Continue" to complete setup. Nameserver propagation may take a few minutes to a few hours.
Once active, your domain will show as "active" on the Cloudflare dashboard:

Step 2: Enable Email Routing in Cloudflare
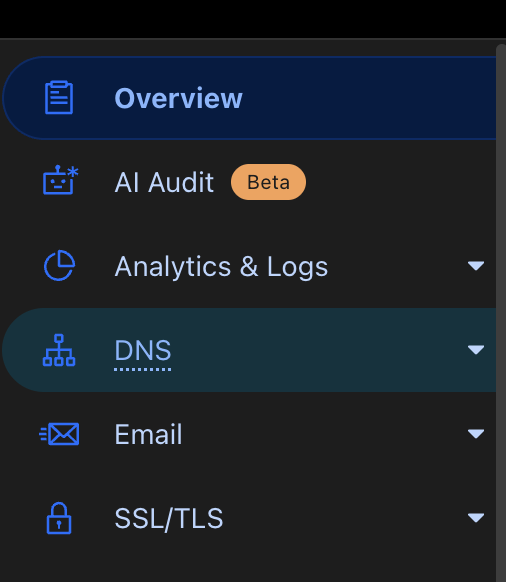
Inside your Cloudflare dashboard, select your domain and click "Email" from the left sidebar.

Enable the email routing feature. Once active, you’ll be able to:
- Navigate to Destination addresses and enter your Gmail address.
- Go to Routing rules to create email aliases.
This lets you forward emails sent to addresses like hello@yourdomain.com to your personal Gmail inbox.
Congrats! You’ve created a custom email address that forwards directly to Gmail.
Step 3: Send Emails from Gmail Using Your Custom Address
To send emails from your new address, you need to set up an alias in Gmail.
Create an App Password (for Gmail with 2FA)
If your Google account has 2-factor authentication enabled, create an app password here:
- Click "Create app password"
- Name it something like "Domain Email Password"
- Click "Create" and copy the password somewhere secure
Add Alias in Gmail
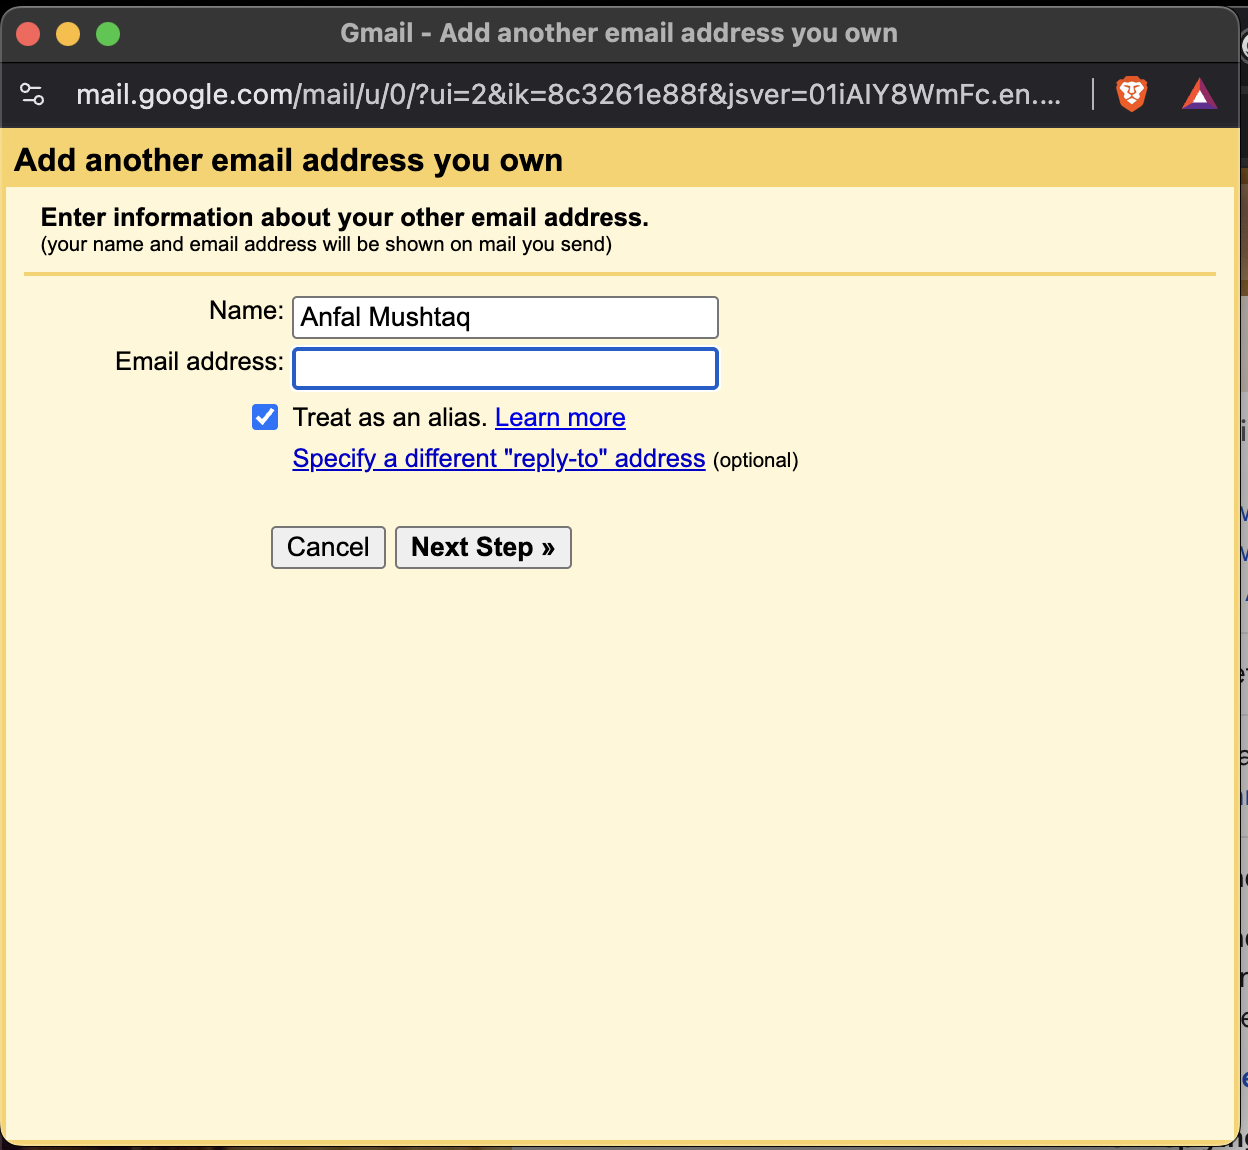
Go to your Gmail settings. In the "Send mail as:" section, click "Add another email address."

Enter your custom email (e.g., hello@yourdomain.com) and click "Next Step." Then input:
- SMTP server:
smtp.gmail.com - Port:
587 - Username: your Gmail address
- Password: the app password (if 2FA is enabled) or your regular Gmail password
Click "Add Account."
You're all set! You can now send emails from Gmail using your new custom address.

What’s Next?
With your custom email up and running, consider creating Gmail filters to organize incoming emails into folders automatically.
Fun fact: This is exactly how I manage hello@anfalmushtaq.com.
Gotchas
This method only gives you email forwarding and sending capabilities—it doesn’t include extras like Google Drive or Calendar. If you’re okay skipping Google Workspace’s extra features, this is a perfect free solution.
Evaluate based on your needs. For most individuals and early-stage startups, this is more than enough!
